
According to this article, they say ” SAML with Microsoft Azure is only supported if you are using AD FS”. We are not using ADFS in our environment. We are simply using Azure AD Connect to do Password Synchronization into Azure AD from our on-premises Active Directory Domain Services. I figured out a way to make this work without using ADFS.
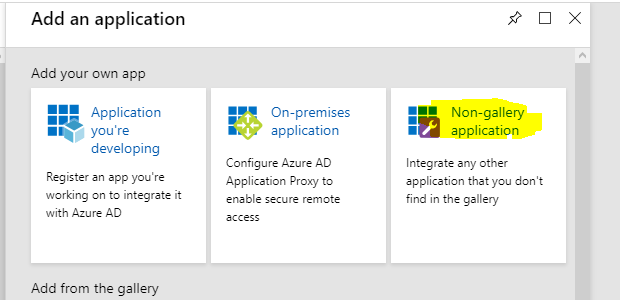
Log into your Azure instance, click on “Azure Active Directory” and select “Enterprise Applications”. Click “New Application” and select “Non-gallery application”
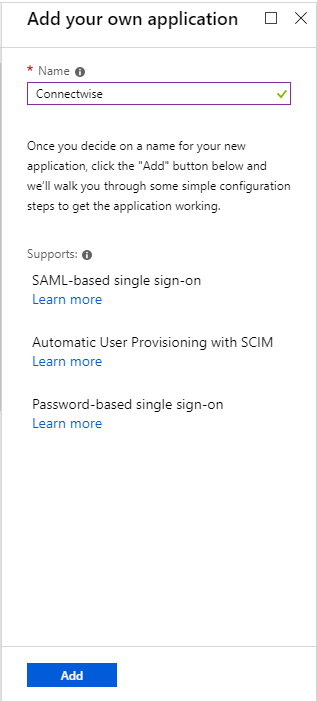
Call it something and hit “Add”
While this is configuring, log into your ConnectWise Manage server and go to the URL (https://{site}/v4_6_release/auth/{companyId}/metadata) This will download a metadata file. Save it somewhere.
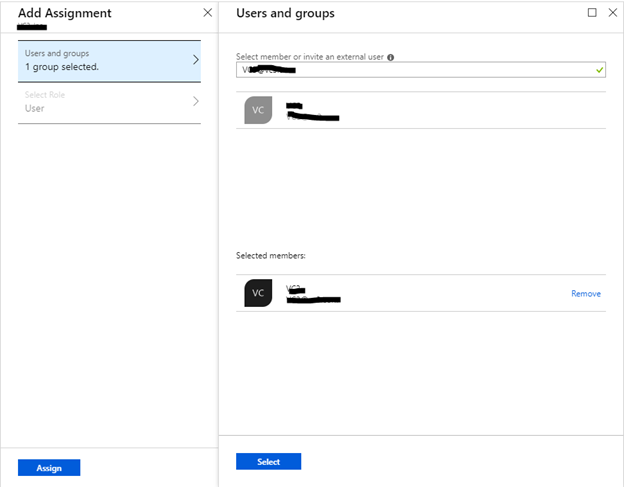
Back in the Azure portal, your Enterprise Application should now be up. Click on “Users and Groups” and add a group that you would like and hit “Select”, then “Assign”. I am going to select a group with all of our Active Directory users her. (Remember: Our environment is setup using Azure AD Connect with password sync)
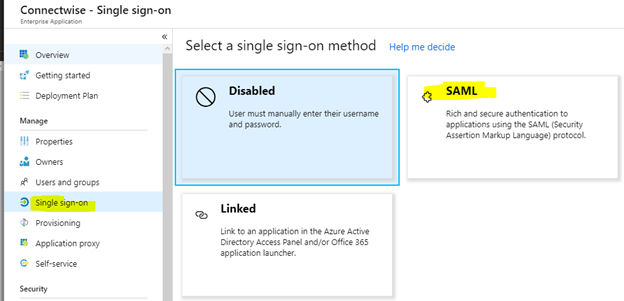
Next, click on “Single sign-on” and select “SAML”
I’m using the “New Experience” here. You can switch to and from it with the following button at the top.

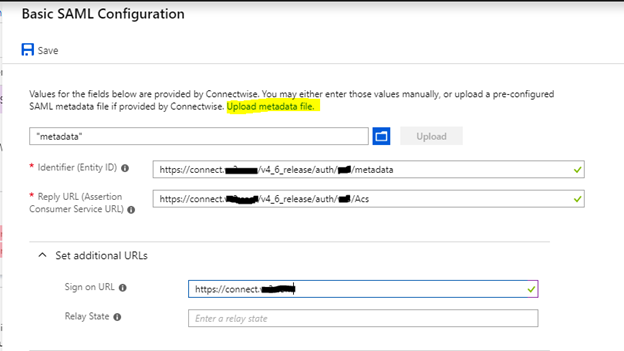
Click edit on “Basic SAML Configuration”. Then click “Upload metadata file” at the top and upload the metadata file you downloaded above. It will add the top two lines. I have added the “Sign on URL” manually by just adding the base URL. After you are done with all of this, click “Save”
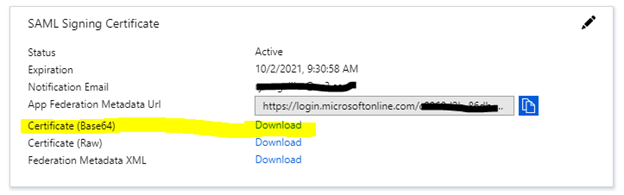
Next, download the Base64 cert (Under “SAML Signing Certificate”) and save it somewhere.
Under #4, copy both the “Login URL” and the “Azure AD Identifier” into notepad somewhere.

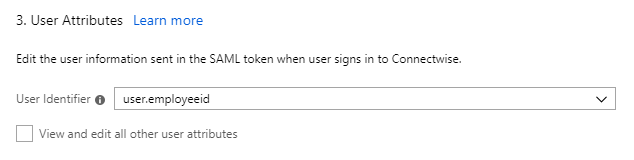
Next, select the “old experience” using the button at the top. Set “User Identifier” to “user.employeeid” and click “Save” at the top.
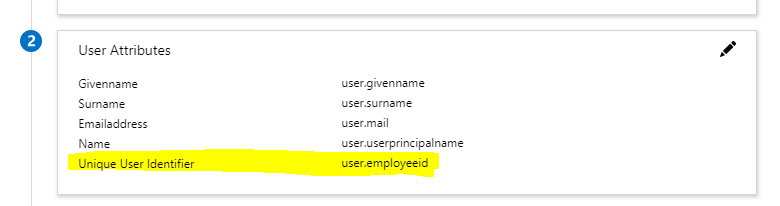
You can switch back to the “New Experience” now. You should see your change here:
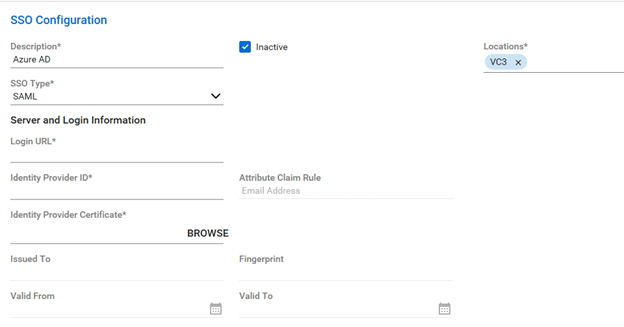
Log into Manage and go to “System” and “Setup Tables” then “SSO Configuration”. Click “+” to add a new one.
Enter a description and put in “SSO Type” of “SAML” (You may want to set this to inactive while you are screwing with it). Select the location in the top right.
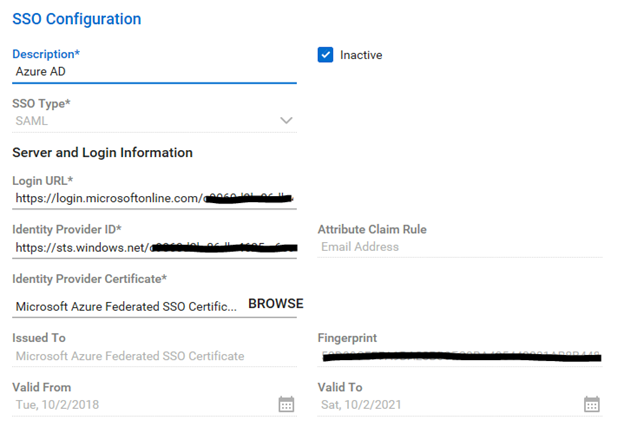
Enter “Login URL” in the “Login URL” field
Enter “Azure AD Identifier” in the “Identity Provider ID” Field
Upload the Base64 certificate from above.
Click “Save”
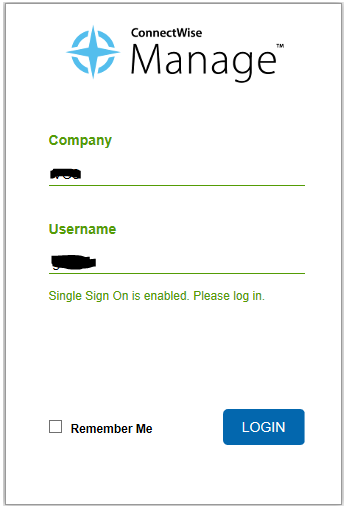
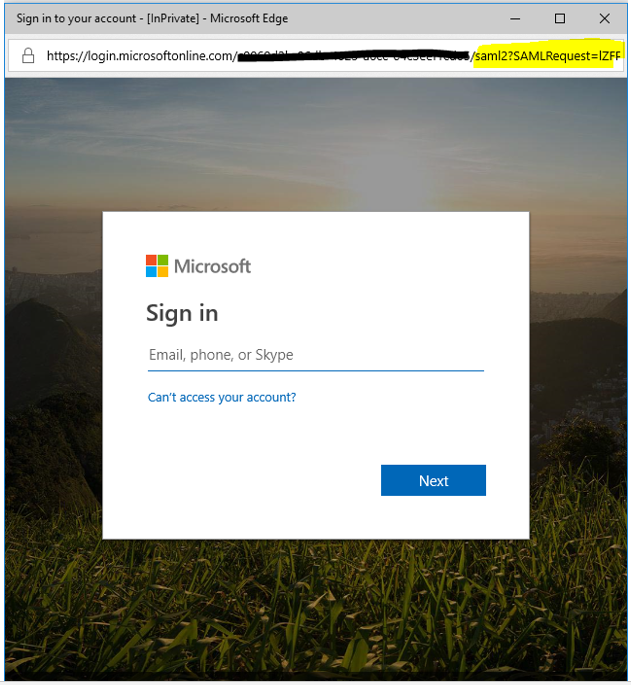
When you are ready to test it, uncheck the “Inactive” button, and save the configuration. The login will look like this now:
One last tidbit. If somehow you DO lock yourself out of your environment, you can change your SSO configuration directly in the database. Just find dbo.SSO_Configuration, and set your “Inactive_Flag” to True. Not that I did that or anything. 🙂 🙂
Are you using the on-premise version of ConnectWise Manage? If so, will this solution work with the cloud hosted version?
I don’t know if it will. This is for the on-premises version of Manage.
What does the matching? It looks like it is “EMail Address” in the CW side, and that should correspond to the default SAML token “emailaddress” -> “user.mail”?
And when you log into the CW page, the user ID there – does that match anything else?
I have ours all setup, but keep getting “Server error. Please contact your Administrator.”
I tried a number of different combinations of attributes and name settings (having the unique user id match my login ID in CW, as well as email address), but all seem to fail. Used fiddler and able to capture the SAML response and looks like I’m passing in the right values based on what I happened to have chose, but always fails.
Did some searching afterwards and came across your page, and you’re doing what I did, exception being the ID pulling the employeeid attribute, so not sure what your attribute is populated with in relationship to CW (email address, login ID, etc), if that value really matters at all if should just be matching email address anyhow, etc.
Any insight would be appreciated.
Thanks.
Hi John, did you figure this out? I am getting the same error.
So, all is needed is the unique ID and it matches the ‘user.mail’ value so it will match the email address.
The issue I was having is the person that was doing the CW side has spaces at the end of the URLs when he copied/pasted them in and didn’t catch that.
So that all works fine, but the login process now tries to open a separate browser page at login/authentication, then tries to close it out If I say ‘no’ then my login works fine (just in a second browser window). Not sure ‘why’, a bit odd. Functional, kind of.
Glad it’s working! Sorry I didn’t get to you in time. Just got back from vacation. 🙂
Any one get this working with the cloud hosted version?
Not us… but we keep trying.
We got this working for the cloud based connectwise using the steps above. Works like a champ.
I just tried it for ConnectWise On-Premise and it didn’t work for me. I got the same error “Server error. Please contact your Administrator” after login to O365.
My “User Identifier:” in Azure AD is user.employeeid but it does not work. Gives me the same error message. “Server error. Please contact your Administrator”
I tried combinations of different ids, but nothing worked. I made sure no spaces were at the end of the URLs.
anyone have any updates on this? i am getting same error msg “Server error. Please contact your administrator”, i am using the info in the article to configure duo gateway, but i think i have the id wrong or something else is up.
Try to set your Unique User Identifier to user.mail or something else. The variables have to line up between your UPN and Azure AD.
Working like a champ.
Thanks
I have done everything and still can’t get it to work, looking to get some hekp here and willing to pay for it.
Jump into join.citrixirc.com. Look for tabularasa. We can try and help you.
I figured it out – but thanks for the quick response!!! Great article and works awesome – saved me days of work from doing a stupid ADFS setup.
No problem! Glad you got it figured out.
So I noticed that now there is an entry under Enterprise Applications for ConnectWise. Does this work for both On-prem and Hosted?
Mike P. above in the comments said he was able to get it working for the cloud version.
Does anyone know if this will work if you have MFA enabled on your AAD?
Yes, it works with MFA. That’s how we have it configured.
Such a bummer. Adding custom applications requires Azure AD Premium.
Worked like a charm except for the Unique User Identifier. That needed to be UPN to make it work for us.
Also, to avoid locking yourself out, you can do this on a StreamLine board. Just make sure you have a Streamline user that has an email address that matches an AzureAD account. Once it works, all you need to do is change the Location to your main site.
(Of interest here is that once setup for the Streamline board, our full users were able to click on the CW Manage SSO link in AzureAD and get SSO’d right into Manage. That’s technically a bug, but I’ll let it slide here)
I am able to get this working via the web. But the Manage client just pops up a white box and then goes back to the Manage sign on screen. Anyone else seeing this?
Does anyone have this working with guest users within the AD tenancy?
We use StreamlineIT and imagine that the SSO being global woudl affect streamline users also!
PSA: To stop getting the 400 error we had to use the Base64 cert from Azure AD instead of the Raw one.
We use Connectwise On Premise. In the SSO configuration step, we are unable to select location or type All in it. Please advise. Thank you.